Wednesday, 8 May 2013

BA3 - LEVEL DESIGN

BA3 - LEVEL DESIGN 


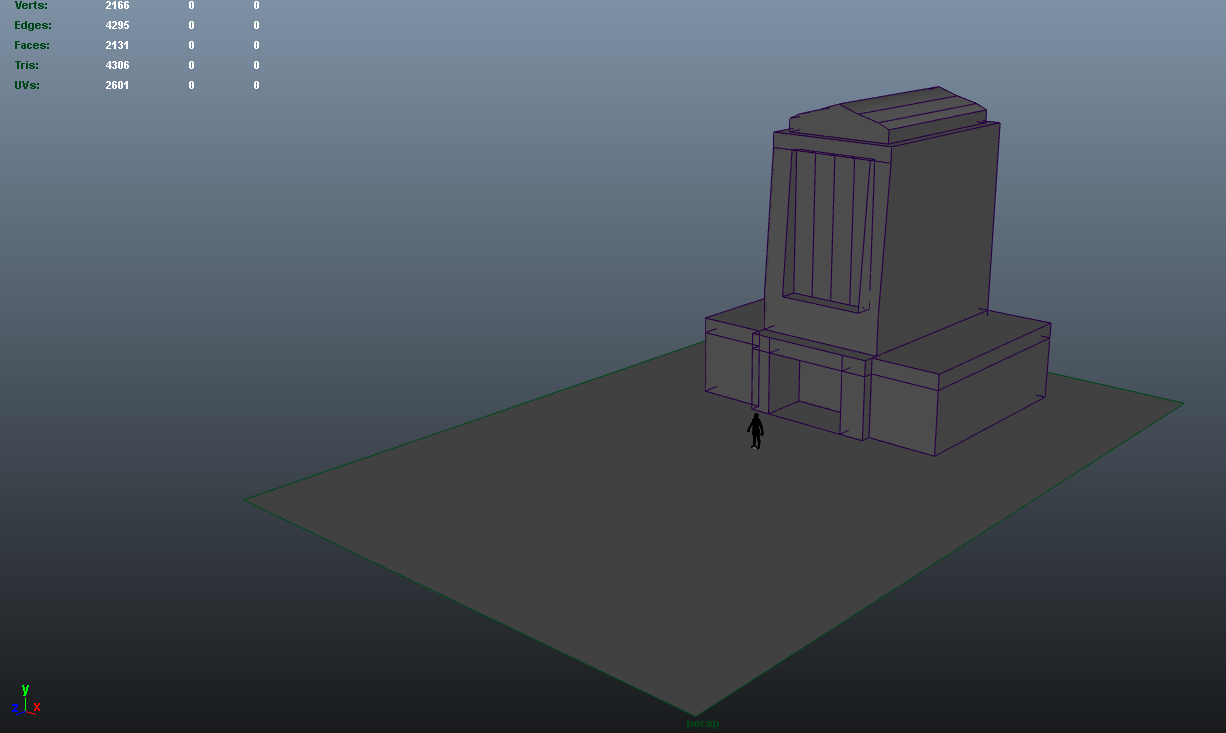
We started with directed study where we were given a scene to create in Maya. It was a relativity simple scene but had a lot of room for expansion once we have grasped the tools needed to create it.

 These are the reference photos we were given to recreate, I rather liked these little scenes despite it not fitting into my usual style of work, but I thought to myself I'm not always going to get projects I enjoy in the industry so keep calm and carry on.

After several mind breaking sessions in lesson and half a dozen YouTube tutorials later I came up with something that way mildly similar to the images.
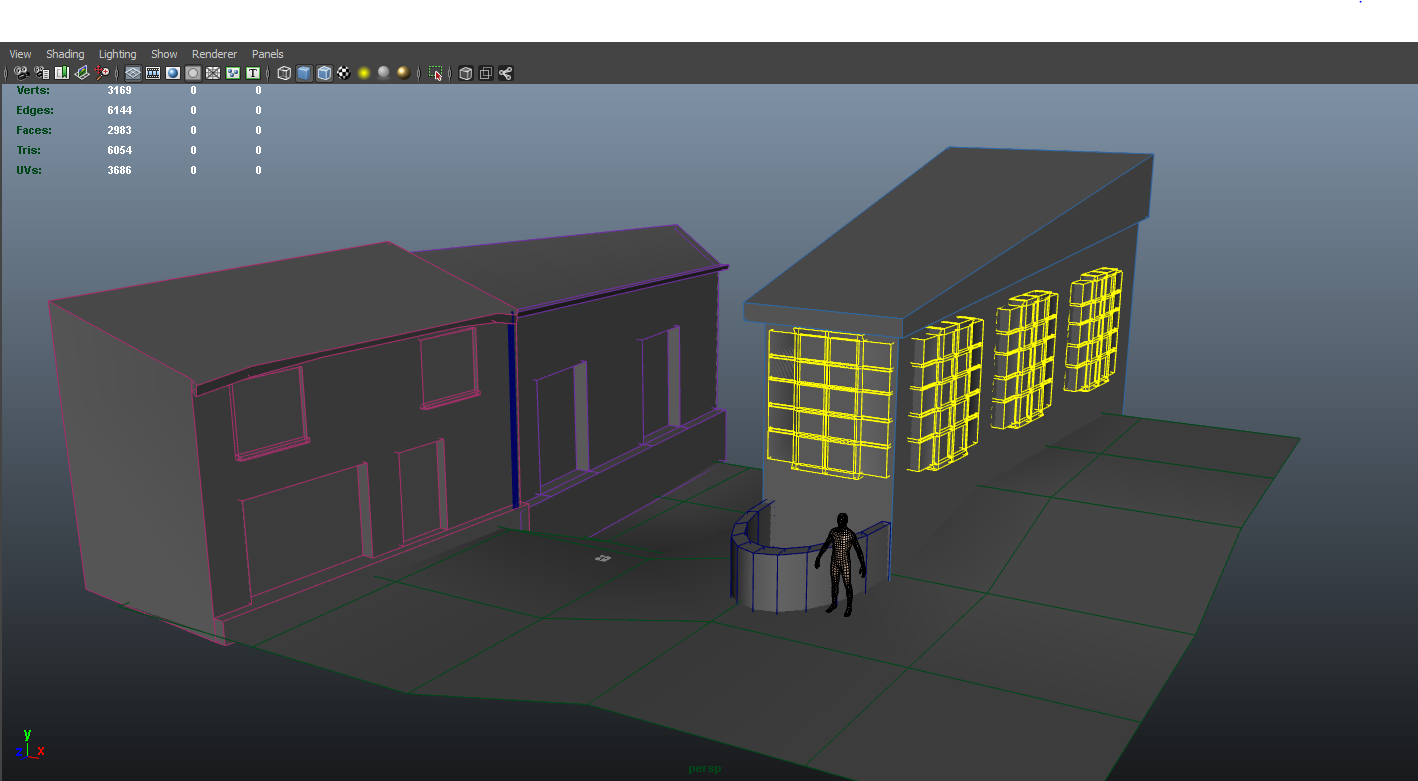
At this point I was not aware on how to texture the buildings I had created so I left them at this stage, still quite unhappy with the outcome. 
To improve the scene I think I would probably look at scale a bit closer along with more smaller objects to interact with rather then giant behemoth buildings.


Concept for my Level

At the time of creating my level I was heavily into my fourth play through of Fallout 3 so all I could think of is all things wasteland. So I took some time out from exterminating super mutants to do some sight seeing.

 So may I introduce you to the "Vault Tec" headquarters located in the capital wasteland.
The art style is best described as Art-Deco, a popular decorative motif in architecture and design from mid 20's that went out of style around 1940. The form of the buildings mainly involve straight lines along with harsh angles to create exaggerated perspective along with warm colours and metallic textures on colossal scale. I've always had a soft spot for the art-deco style I especially like some of the British architecture from this period such as the victory coach station in London and paddington train station, you can clearly see the weight of the buildings in the materials used and really get a sense that they were built for a purpose and to last.

I did some very quick sketches to note down ideas that came to mind first then I could expand on these to bulk out a fully formed idea.


I looked into making a scene where the player would feel engulfed by the surrounding, this is an attribute I really enjoy when playing games. I find I personally get more involved in a game when the environment fully consumes me. So I decided to create an L-shaped layout to it would wrap around the player nicely and would also give the option to explore within tighter spaces.


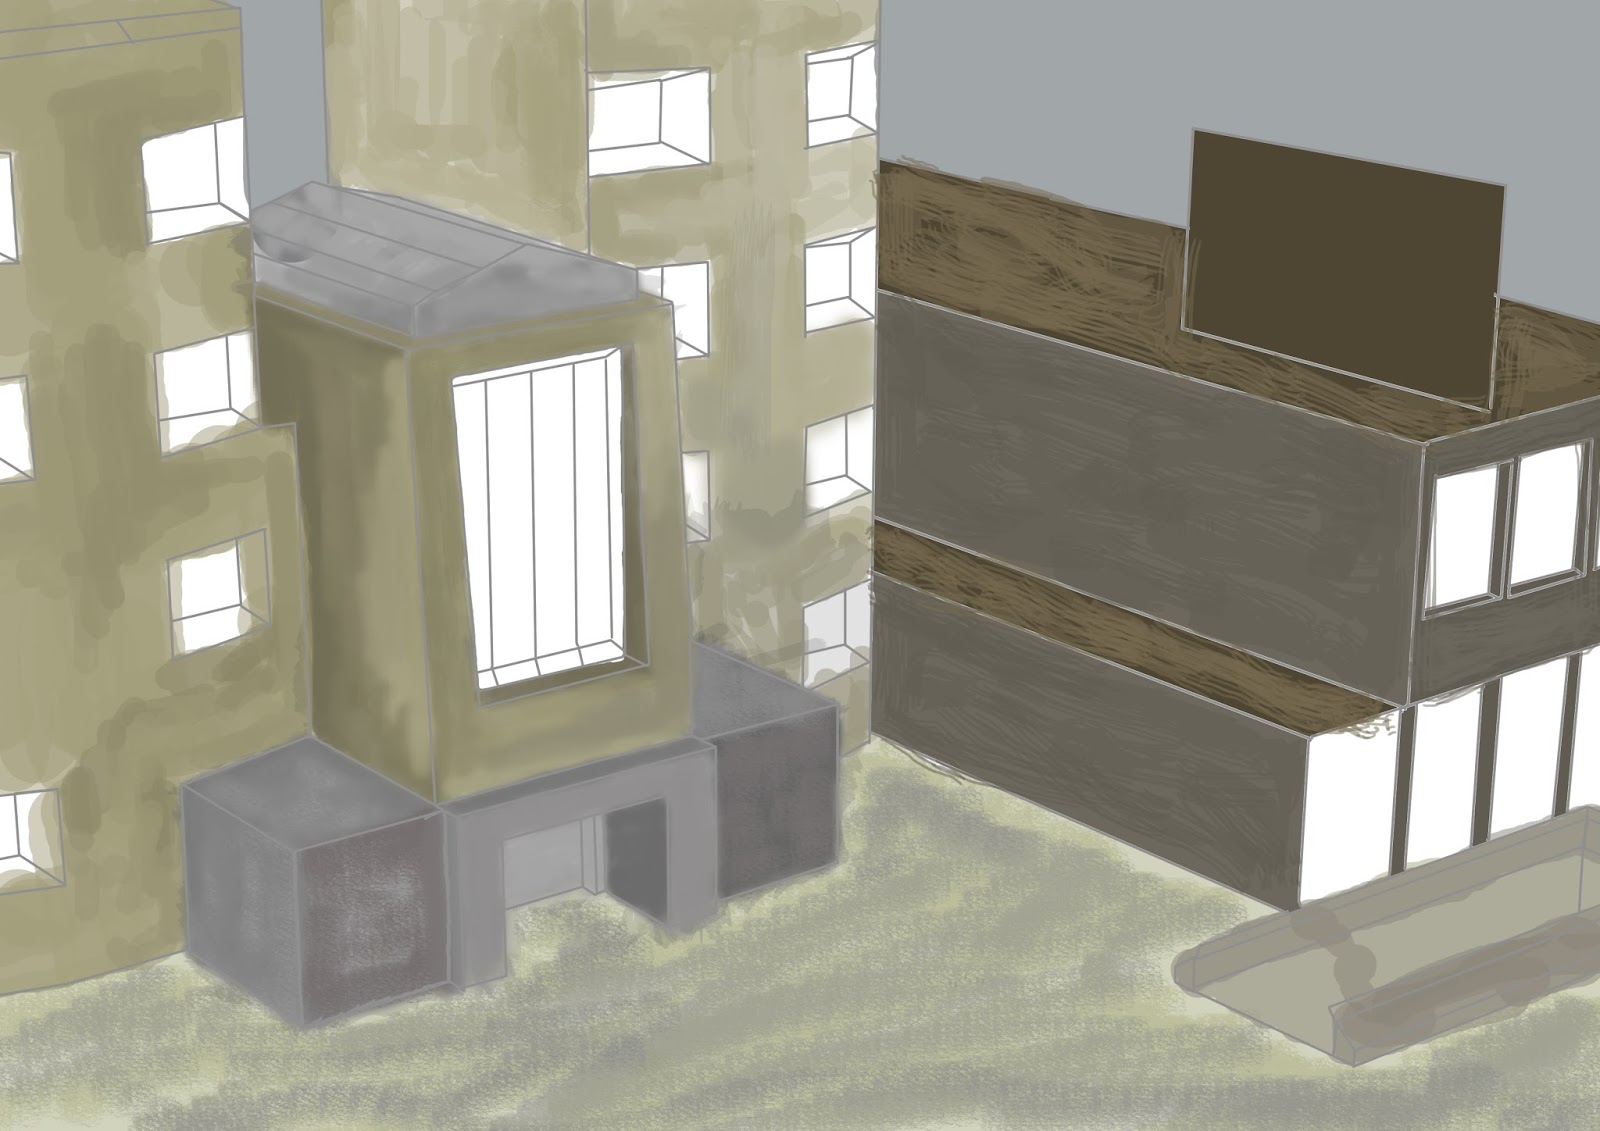


I went through a couple of refinement processes to get to the style I had pictured in my mind along with looking at my reference photos. I found enjoyment and frustration trying to wrap my head around building a 2D image in a 3D space knowing things would not be as easy in Maya as they were on pen and paper. 

Modeling

 I first started off building the basic form of my building so I could later on build onto or chip away from the main structure.  

Once I had created a shape and feel I liked the look of for my main building I decided to flesh it out a bit by adding small visual details.

 Then I started construction to the outer sides to the building. I still wanted to keep the art-deco feel so I kept everything in straight edges and hard angles to make sure I would fit.

After this I went a head and built the second building which I originally want to connect to the main building via a bridge or tunnel.

 As I slowly went through removing any excess edges and tidying up vertexes I didn't really like the look of the second building so much and thought it needed something else to make it stand out more from the other.

So I was playing around with the idea of adding a sign to the front of the building. Not knowing how to add text to Maya I head over to YouTube and found a video teaching me how to insert text and manipulate it into different forms.


But my version of Maya decided it wasn't having any of this lark and kept crashing so that idea came to an abrupt end.....for now.


Feeling disheartened and down in the dumps I went on a tidying spree removing all unnecessary faces and edges to save myself texturing parts that would not been seen by the player.


Once everything was sorted and nice and clean I started texturing the buildings, I wanted to do the back buildings first because they are a relatively simple shape and I wanted to get a feel for UV'ing before jumping in the deep end.
One problem I did encounter was that because I had made the building at the back one solid structure the textures were coming out blurry and unfocused so I decided to split them into two smaller easier to manage buildings.

After texturing my first building I decided that I want to interact with my world a little more then just a flat surface. Which led me to look at the stairways to the London underground stations. I really like the look of these iconic land marks across London they are very distinctive and outstanding in their environment.


I created a couple of sketches and built the one I favored the most.


This led me to adapt my second building to more of an office block adding variations in height rather then the one solid mass.


I also added little features like the air vents and the billboard to break up the surfaces.
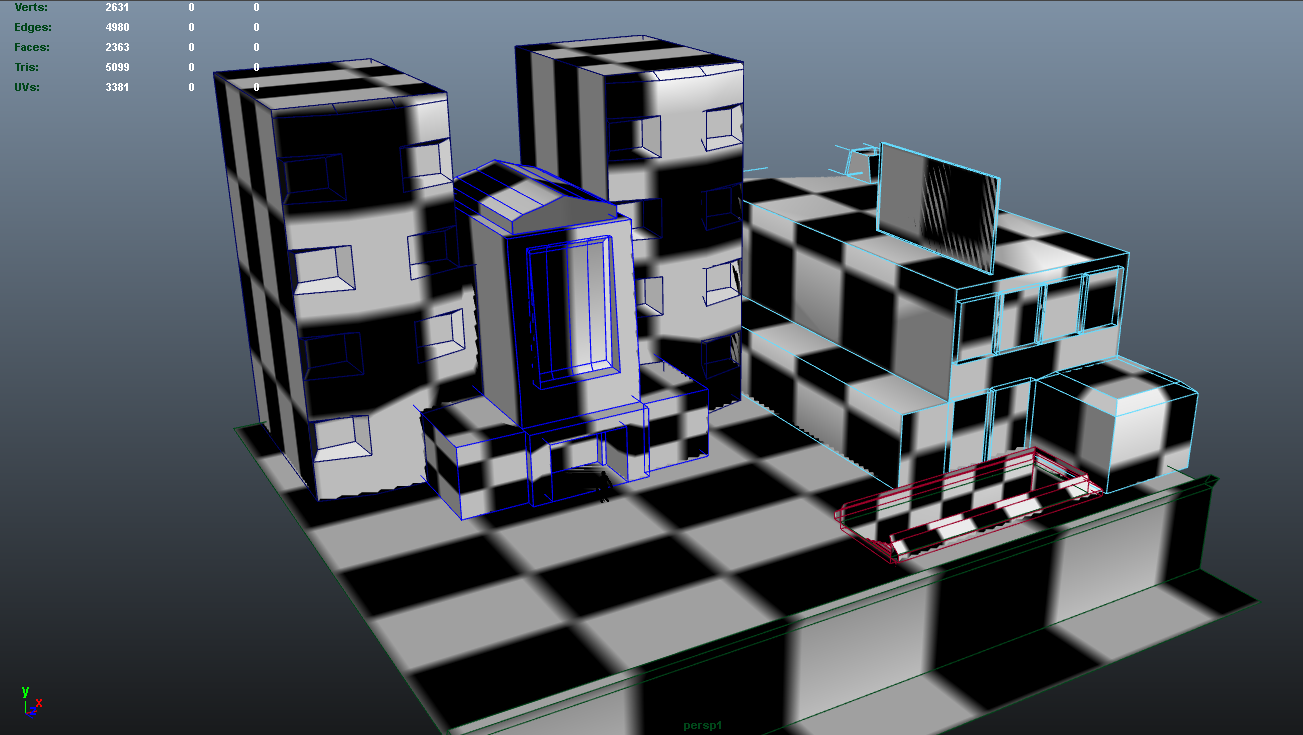

More texturing occurred making sure that all UV's were in a TGA format so that I could bake the surfaces to add more depth to the sides creating the illusion of a 3D image.

The finished outcome


Friday, 1 February 2013

More Animating! You must Jog before you can Run


After finishing the walk cycle I wanted to keep building up my skills in Maya while I still had great momentum for "creating life". 
I decided I wanted to speed things up a bit with my character and get him to do a gentle Jog.

I headed back to YouTube and found a reference from endlessreference.
I wanted the character to look more weighty and more in motion in comparison to the walk cycle.


This is my finished outcome. I wanted to make the character even more believable by giving him more facial characteristics and actually show expression when in motion.
I did this by turning "Facial CPanel" On and while using the move tool I manipulated the key points to rearrange the face.

After finishing a nice jog I wanted to up my game even more now that I'm getting a taste for Maya.
Once again I delved back into YouTube and found a running animation cycle by Ferdinand Francis. I liked this video because his characters body was quite similar to mine so I could match the extensions of the limbs easier.


...And here we are my running animation. For now all the videos will be of a low quality until I have them to a state I am happy with, looking on how my work has progressed I want to go back and redo my walk cycle because it looks kinda naff now.


Speak Soon.

Sunday, 27 January 2013

My First Character Animation


I started off with a simple character rig with standard two arms, two legs and a head.


The character already had all the plotting points I would need to manipulate the body into the shapes and poses I wanted.

Before starting I had a quick play around with the tools just to get a basic feel for the controls and have a bit of fun without stressing myself out. Some of the out comes to make me laugh.


Once I had finished having a muck around I did some research online and got some walking references from YouTube. I thought this would save me a lot of time and hassle creating something from life rather then straight out of my head. So I watched this video by endlessreference.


I then set the key frames of which I wanted the legs to follow. We were set the task of making the character walk on the spot which I found harder to do then making the character progress forward. 
I had to do some crazy MJ moon walking manoeuvres to keep the figure looking correct.


After syncing up and coordinating the legs to walk in time I moved onto the motion of the body focusing on the hips and shoulders first. I had to make all parts alternate and fit together to create a convincing muscle structure motion.


Thus creating my first animated figure.

Bouncy Ball attempt 2


Alright, so I've given it another go.


I started from scratch and decided I wanted the ball to be more solid this time and not have so much of a impact. So what I did was I created less of a stretch in the balls shape when it hits the ground and gave it more drops and bring it to a slow halt. 

Thursday, 24 January 2013

Bouncing Ball First Attempt

I first imported a template file of a ball rig I was given from uni, then imported it into Maya. Then I moved the ball up and down the Y-axis to simulate the ball bouncing. Once I made the ball bounce in a way I was happy with I then squished and stretched the ball to imitate the weight and force of the wind effecting the shape.  


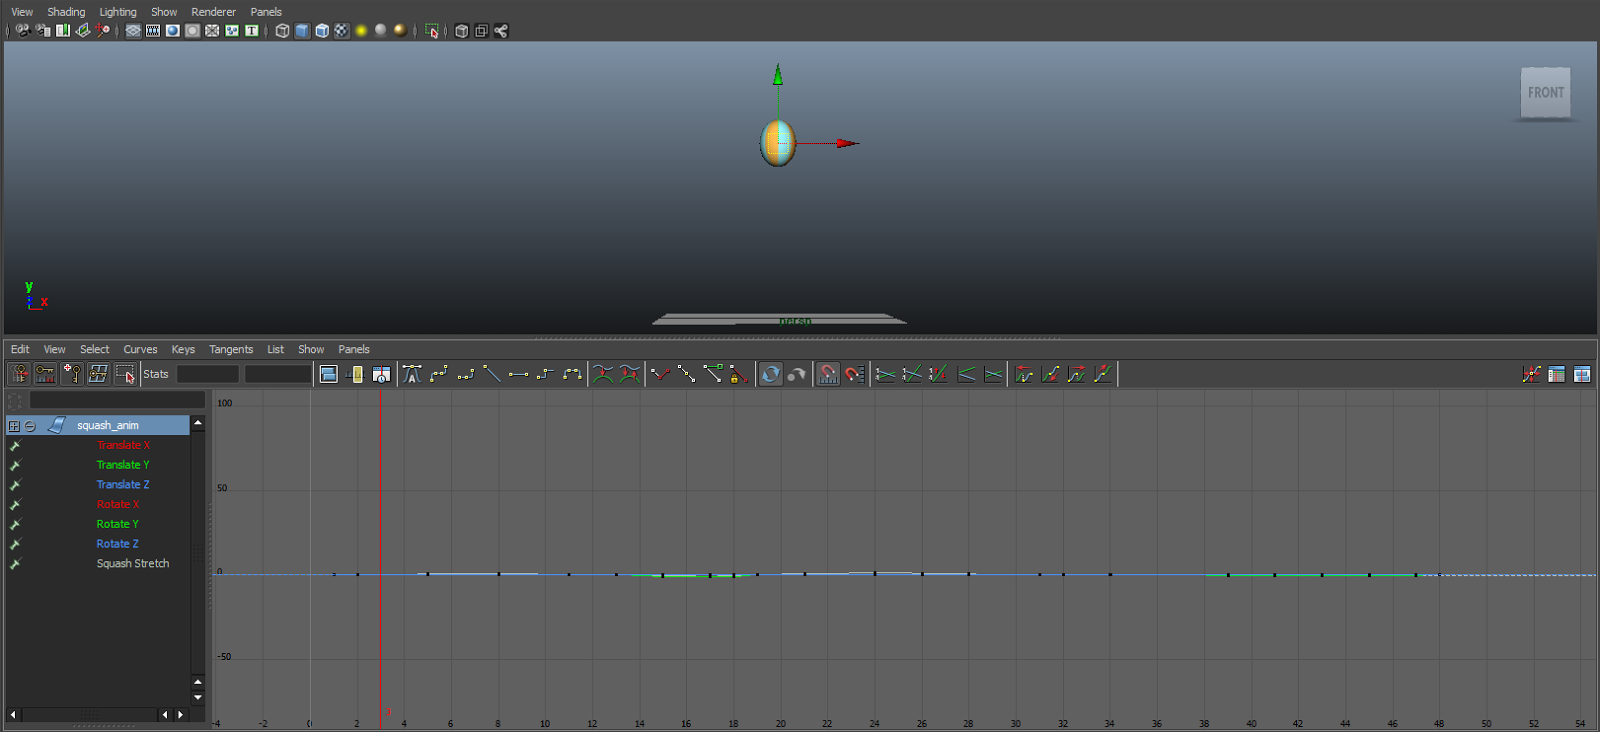
After I had finished moving the ball manually I opened up the graph menu and altered the levels to fit a more natural bounce.


This was my outcome. I am not entirely happy with the end product but for a first attempt I'm pretty proud.

Next time I will try and reduce the impact and try not to make such a big "splat" impact. I think I'll try and make a more solid and marble like ball to create a sense of weight.

Games Industry Roles that I'm interested in.


Creative Director

The Creative Director is the key person during the game development process, overseeing any high level decisions that affect how the game plays, looks or sounds.
Creative Directors are employed by development studios, both publisher-owned and independent, but not all game companies employ Creative Directors. However, some companies prefer to continue to split the duties between a game's lead artists, programmers, designers and producers.
Where the position is used, each game development team has its own Creative Director, although some particularly experienced and talented practitioners oversee multiple projects.
As a highly paid and senior role, it involves a lot of responsibility, as well as the requirement to work long hours and deal with high levels of stress, particularly during the final stages of production.

What is the job?
The Creative Director is responsible for the overall look and feel of a computer game. The position is a relatively new one within the games industry and has evolved out of the producer's role as this has shifted towards managing the process of completing a game on time and on budget.
In contrast, the Creative Director's focus is ensuring the quality and style of the game play  artwork, music and audio assets that make up the final product. In many cases, the Creative Director is also the creator of the original game concept and characters, and so acts as the visionary who makes sure the finished game fulfills the initial goals.
At the start of a project, the Creative Director works with a small core team defining the framework of the game, with special attention placed on the artistic styling and any technical obstacles that will need to be overcome. As the game's development continues and more staff are added, the Creative Director works closely with the lead programmers, artists and designers to ensure all the code and art assets produced, as well as playable versions of the game, meet the initial vision and are of a sufficiently high quality.
The Creative Director deals with issues arising such as new features and any major redesigning of characters and scenarios. Outside of the development team, the Creative Director acts as the game's advocate and champion, promoting it to executives who are not directly involved in production, such as the sales and marketing departments.
Other tasks include handling media outlets such as games magazines, television and websites.

Typical career routes
There is no set route to becoming a Creative Director, but it is not an entry-level role. Creative Directors usually have over five years experience in a senior game development position, and have shipped commercially successful titles.
Many Creative Directors have previously worked as a lead artist or lead designer, while others come from a production background. They will have demonstrated exceptional abilities in terms of understanding how the different components of a game combine together to create the finished product.
Another entry route for Creative Directors is from a similar position in the film or special effects industries

The role of the creative director has predominantly stayed the same through out the years but with technological advances staying in communication with teams and clients has become a lot easier with work being able to be transferred and displayed digitally via such methods as Skype, Email, USB drives, power point presentations and having group data stored on the same network.  


Ken Levine Creative Director for Bioshock Series


Todd Howard Creative Director for Fallout 3

Glen Schofield Creative Director for Dead Space Series

Yoji Shinkawa Creative Director of Metal Gear Solid
These are just a few names of Creative Directors of games that I personally love and respectively play over and over again and hope to work my way up in the industry to reach this level of work in games. 

Wednesday, 23 January 2013

The 12 Rules of Animation (Bad Examples)


Rule 1: Squash and stretch
A bad example of the Squash and Stretch rule in game is the character animation in Minecraft. When jumping the avatar stays completely stationary and does not interact with the environment.
Rule 2: Anticipation
Dead Space has a relativity poor example of Anticipation when switching between the weapons within game. When being attacked by the "Necromophs" you are able to switch weapons without any kind of warm up or delay. Thus removing the feel of weight of the weapon and need to change "Isaac's" stance.
Rule 3: Staging
A bad example of Staging is in DJ Hero, The background is highly distracting with fast movements, flashing images and disorientating angles. Some players may find this distracting and inconvenient but personally I like it and think despite being erratic it adds to the theme of the game.
Rule 4: Straight action and pose to pose
N/A

Rule 5: Follow through and overlapping action

An example of bad Follow Through/Overlapping Action is this clothing on some characters in Guild Wars 2. In game the bottom half of a females outfit doe not always flow with the body in the correct manner and looks as if it is attached or stuck to her legs instead of flowing behind and following the motion of the movement.
Rule 6: Slow in and slow out
Due to the nature of the game Hotline Miami is a bad example of Slow in and Slow out. The game is a fast pace retro shooter where all you do it hit/shoot enemy's as fast as you can so there is no need to slow down or you will be killed.
Rule 7: Arcs
Due to the style of the game being a retro 64-bit pixel art format the character you play as just dodges obstetrical that are presented before him on one single plane. The character is fixed in one spot with only the ability to jump on one axes, once enough points have been collected he trails a rainbow behind him giving the illustration he is creating an arc shape when actually he is not.
Rule 8: Secondary action
N/A
Rule 9: Timing
N/A
Rule 10: Exaggeration
N/A
Rule 11: Solid drawing
N/A
Rule 12: Appeal
Characters I personally find unappealing are pretty much any weird fleshy monster from the Silent Hill series. don't get me wrong the designs are incredibly well done to set the mood for the game play but don't count on me sticking around if one of these fuglies come crawling.